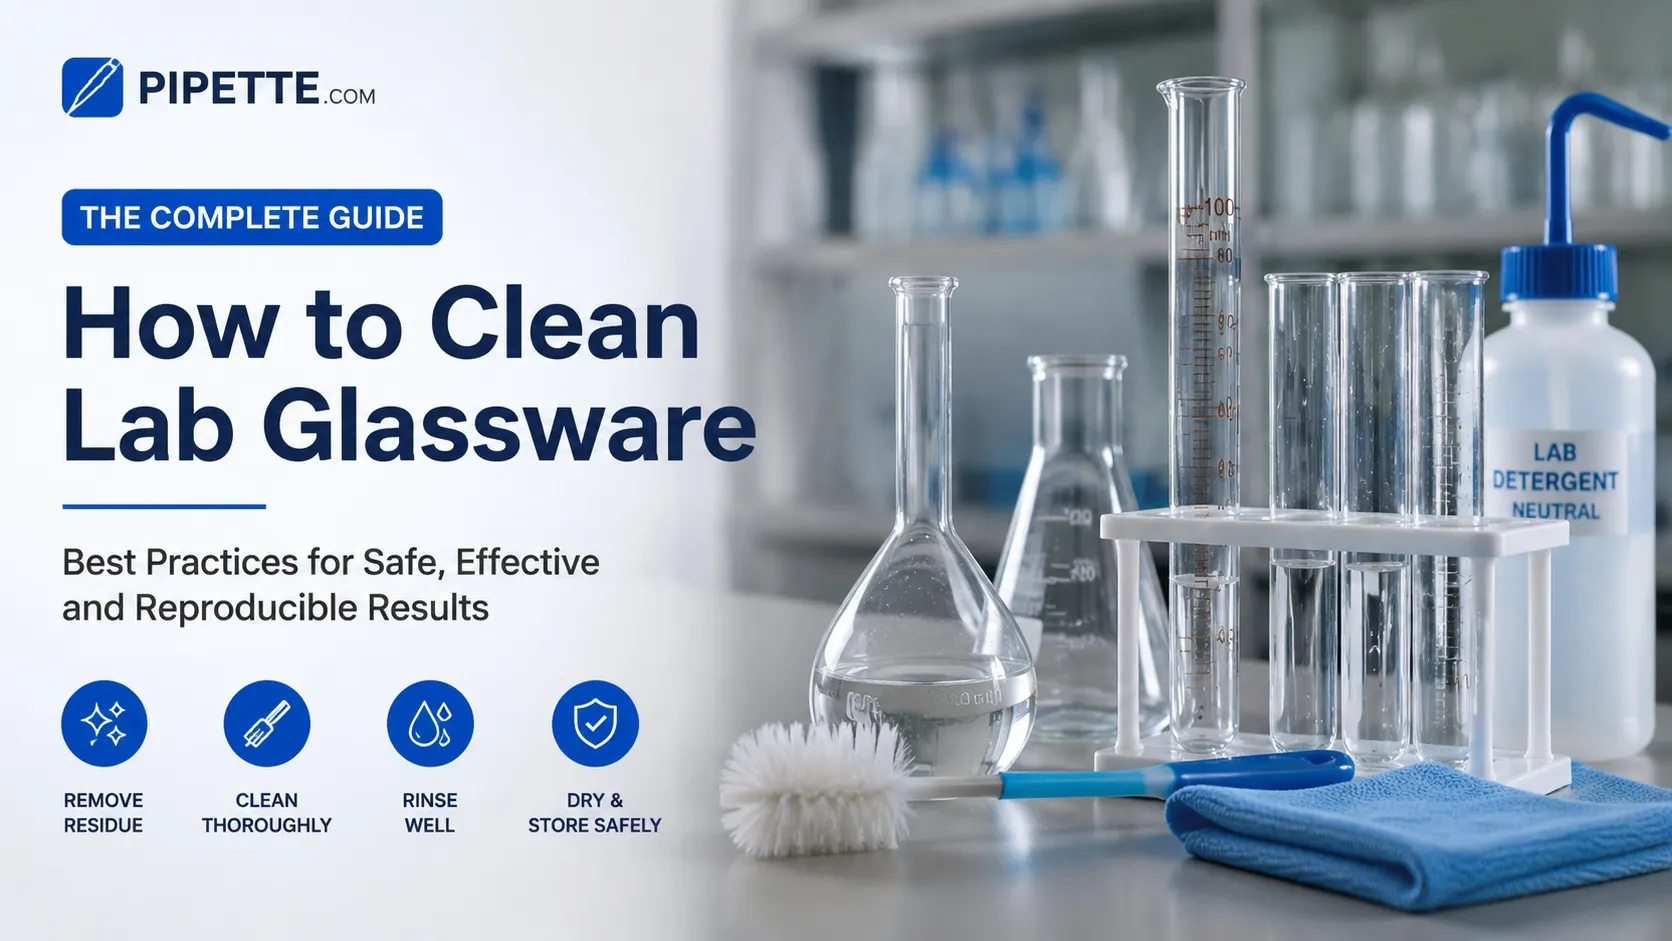
how to clean glassware in laboratory
The cleanliness of laboratory glassware is vital to many experiments, data and laboratory safety. Glassware that is contaminated can introduce unwanted variables, affect the results and pose a risk of chemical reactions or biological hazards. If you're already an experienced researcher, a lab tech or a student in a laboratory in the USA, it is vital to know how to clean properly. In this guide, we will discuss the following: some tips and tricks for maintaining clean and safe lab glassware, recommended detergents, and some steps to take.
Why Cleaning Lab Glassware is Critical
Chemicals, biological and other reactive substances come into contact with laboratory glassware, such as beakers, flasks, test tubes, and pipettes. Residual contaminants can:
- Affect experimental results by introducing impurities
- Increase the risk of chemical reactions, potentially hazardous
- Contribute to microbial growth in biological labs
- Shorten the lifespan of glassware through corrosion or staining
Cleaning programs in US laboratories are more than just a pretty face; they follow OSHA, EPA, and CDC requirements for clean and safe lab practices. The proper cleaning procedures help maintain the repeatability of experiments and reduce the health risks to those performing the experiment.
Types of Contaminants Found on Lab Glassware
Before choosing a cleaning method, it’s important to identify common types of contamination:
- Organic Residues – Oils, fats, and residues from chemical reactions.
- Inorganic Residues – Mineral deposits from salts or metals.
- Biological Contaminants – Bacteria, viruses, or cell debris in biological research labs.
- Staining or Precipitate Buildup – Chemicals that leave persistent marks if not cleaned promptly.
Recognizing the type of residue helps determine whether simple washing, soaking, or specialized treatments are required.
Step-by-Step Cleaning Process for Lab Glassware
Cleaning lab glassware is more than just rinsing with water. Follow these steps for thorough cleaning:
1. Initial Rinse
Rinse glassware with tap water as soon as you have used it. This helps to avoid the build-up of residues that can be hard to clean. In chemical experiments, it is often suggested to do a wash with the solvent that will be used in the experiment (ethanol, acetone, etc.) first to get rid of any stubborn residues.
2. Detergent Wash
Use a laboratory detergent for glassware. These detergents are designed to remove organic and inorganic residues without leaving a film and etching. Steps include:
- Fill the glassware with warm water and add detergent
- Scrub gently using a non-abrasive brush suitable for the shape of the vessel
- Pay special attention to narrow-neck flasks or pipettes, which often trap residues
3. Thorough Rinsing
Scrub and rinse several times with tap water after scrubbing to remove detergent residue. Any soap leftovers may interfere with chemical reactions or biological samples. If the requirement is ultra-pure, then a last flush with deionized water (DI) or distilled water is necessary.
4. Specialized Cleaning Techniques
Some residues require more advanced methods:
- Acid Washing: For glassware exposed to metal ions or stubborn mineral deposits, soaking in dilute hydrochloric or nitric acid can remove residues. Always follow lab safety protocols, wear gloves, and perform in a fume hood.
- Alkaline Cleaning: Strong bases like sodium hydroxide can dissolve organic residues. Use caution and neutralize residues afterward.
- Autoclaving: For biological labs, autoclaving glassware sterilizes and removes microbial contamination.
5. Drying
Proper drying prevents water spots and microbial growth. Options include:
- Air drying on a clean rack
- Oven drying at temperatures recommended by the glassware manufacturer
- Using lint-free laboratory towels for immediate use
Avoid compressed air that may introduce dust particles onto the surface.
Common Mistakes to Avoid
Even experienced lab professionals can make errors that compromise glassware cleanliness:
- Using abrasive brushes that scratch surfaces
- Mixing incompatible cleaning chemicals
- Failing to rinse detergent residues completely
- Storing glassware before it’s fully dry, leading to microbial growth or staining
Choosing the Right Cleaning Tools and Supplies
Selecting the right brushes, detergents, and drying equipment ensures efficiency and safety. Consider:
- Brushes: Nylon or soft-bristled brushes for delicate glassware
- Detergents: Phosphate-free lab detergents to reduce environmental impact
- Gloves and Safety Gear: Essential for handling acids, bases, or solvents
- Drying Racks: Ventilated, dust-free racks to allow proper air circulation
For US labs, sourcing high-quality glassware cleaning supplies from certified vendors ensures compliance with EPA and OSHA standards.
Eco-Friendly Glassware Cleaning Practices
Modern laboratories increasingly focus on sustainability:
- Using biodegradable detergents reduces chemical waste
- Minimizing water usage through optimized rinsing protocols
- Recycling glassware and avoiding disposable plastics when possible
Implementing these practices helps labs comply with environmental regulations while maintaining top-tier cleanliness standards.
Conclusion
Ensuring proper cleaning of lab equipment is essential to research accuracy, safety and adherence to US lab standards. Whether you're rinsing, detergent washing, acid or alkaline treatment, each step guarantees that your glassware is free from contamination for accurate experiments. Adopting the practices described in this guide can help labs ensure repeatable results, minimize safety risks, and encourage sustainable practices in their operations.
Clean glassware is more than just for hygienic reasons; it is for the sake of scientific integrity.