


Updated 5 days ago
Research Microscope for Biological Observation: Choose Optics Around Your Research Question
Arafatshuvo
Research Microscope for Biological Observation
A big picture isn't necessarily a better picture of a biological question. The requirements for a thin stained section, a transparent wet mount and a specimen for which recorded images are desired can be quite different, and can be imposed on the same microscope.
The first step in choosing a Research Microscope for Biological Observation is the feature to be viewed and the evidence to be preserved. The useful configuration relates specimen preparation, contrast, objectives, illumination, and documentation without requiring that all biological tasks be accomplished using an advanced imaging platform.
Before choosing Magnification – define the Biological Question.
Explain what the observation needs to determine. Different fields of view and levels of detail are needed to find a region of tissue, see the overall shape of cells, and see the details of fine visible structures.
Also differentiate qualitative observation & quantitative analysis. A clear image can be useful to provide a visual description but may not be sufficient for calibration or a validated analysis to measure a structure or compare groups statistically.
Indicate if the sample is fixed, stained, or is a temporary mount. They are used to decide if the optical arrangement proposed is appropriate or not, based on their thickness, transparency and mounting format. This results in a more helpful Selection Brief than asking for the maximum magnification possible.
| Planning Field | Illustrative Entry |
| Observation question | Can the target tissue region be distinguished? |
| Reference preparation | Approved stained section |
| Required record | Overview image and selected detail |
| Acceptance basis | Review against the project’s reference criteria |
Make sure that the Specimen Offers Adequate Contrast
If you are going to use transmitted light, you need to prepare the sample to allow an appropriate amount of light to pass through the sample with sufficient contrast. Thin sections are frequently more likely to pick up features, as staining makes them more visible than thick sections or sections with poor contrast.
With a conventional brightfield setup unstained specimens can be challenging to understand. But simply zooming up or restricting an aperture doesn't necessarily give the contrast to answer a question.
Explicitly specify the capability of the method for phase contrast, fluorescence, optical sectioning or controlled live cell conditions. The specialised modules which are not mentioned in the published biological microscope configurations of Trustlab are not assumed to be part of them.
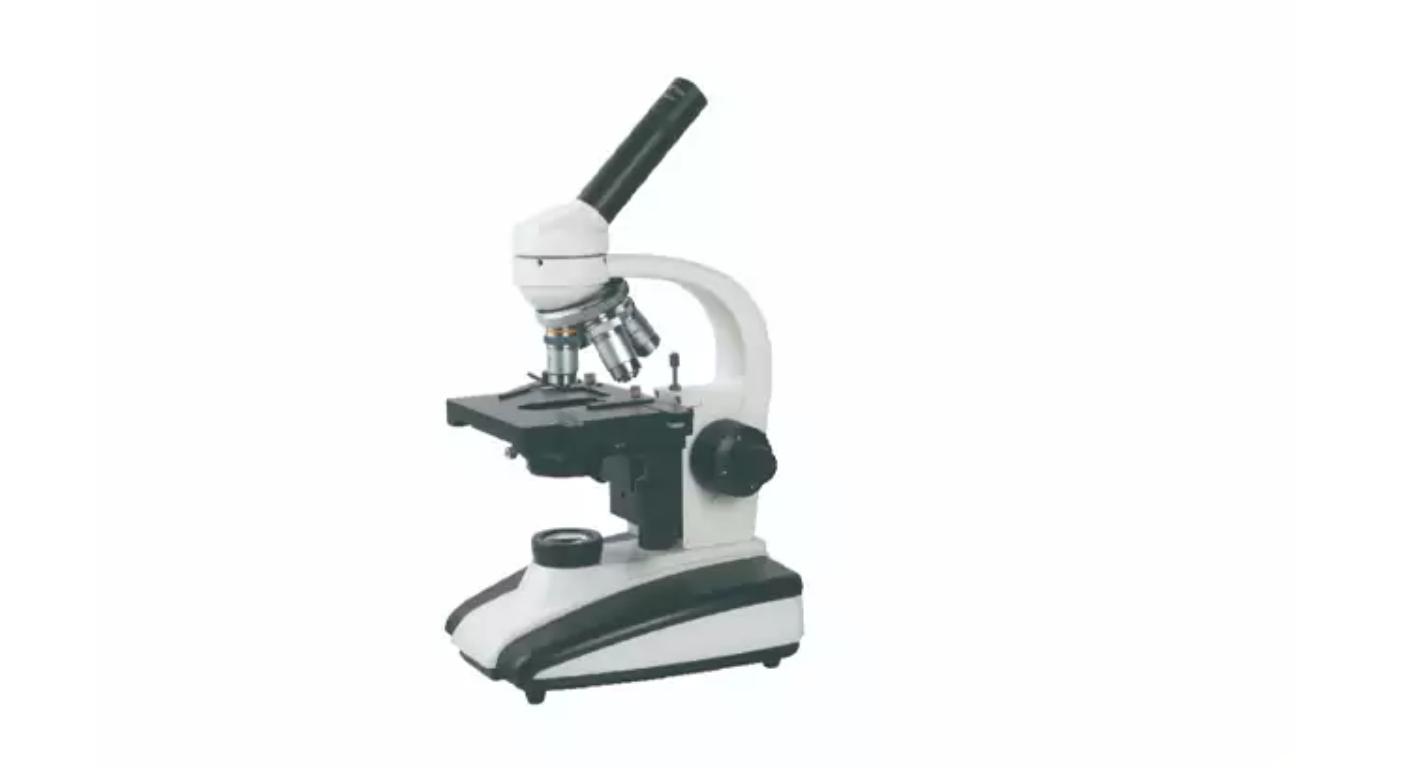
The biological microscope GT-XSP-136A from Trustlab offers a reference microscope setup with objectives, mechanical specimen stage control and adjustable illumination for routine slide-based applications. Representative preparations and the appropriate observation endpoint should be employed to determine its suitability.
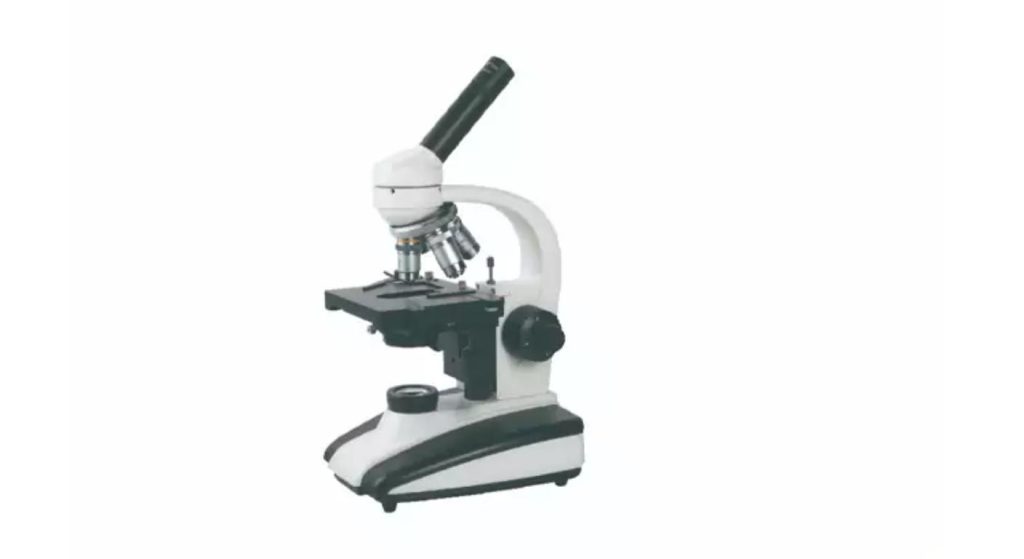
Incorporate Slide Prep into Optical Decision.
Even the best microscope is not able to make up for a poor preparation. It is possible to have some areas of the object being thicker than others, some pockets of air, too much mounting medium or foreign material, all of which can mislead and obscure features.
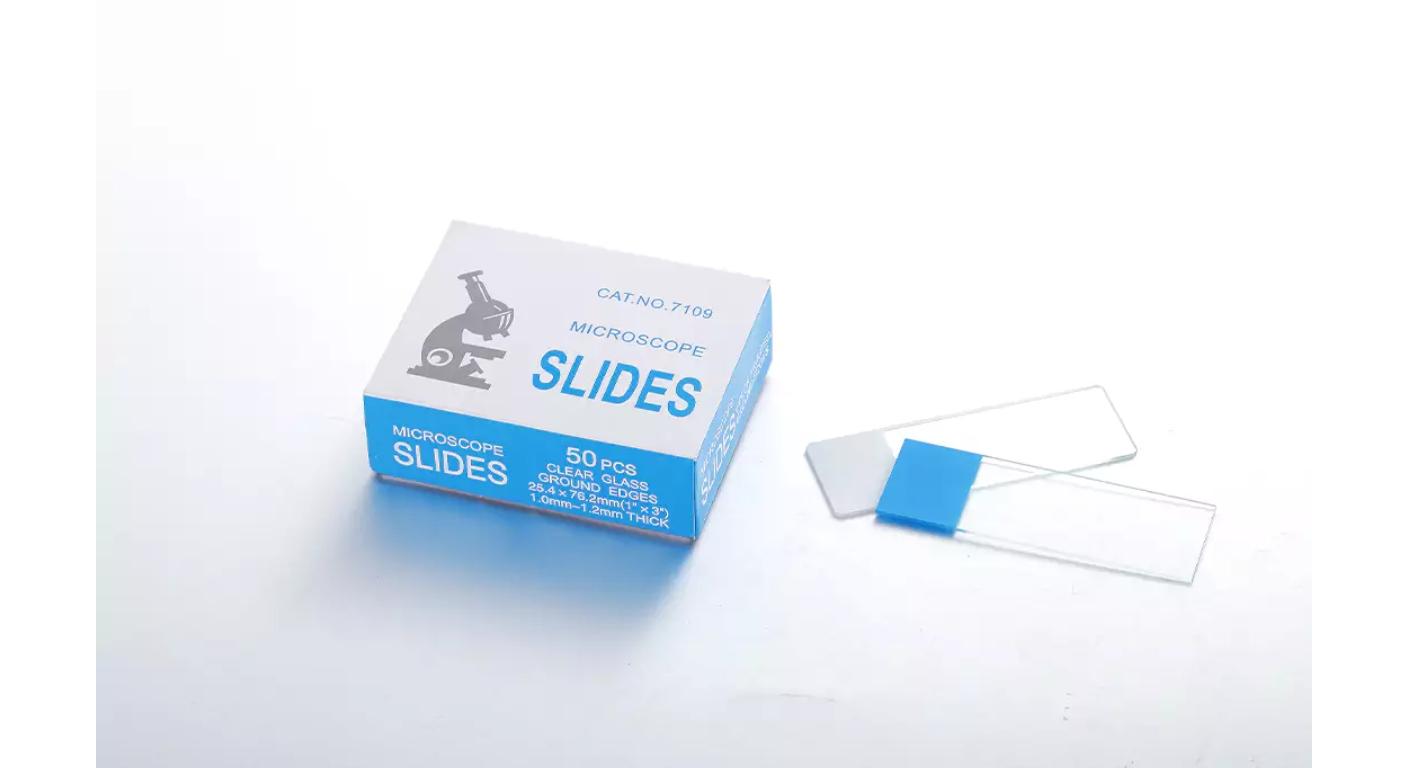
Choose appropriate slides, cover glasses and mounting techniques for specimens and objectives. Glass slides and cover glasses are suitable consumable options, the size of which depends on the laboratory method used, from Trustlab.
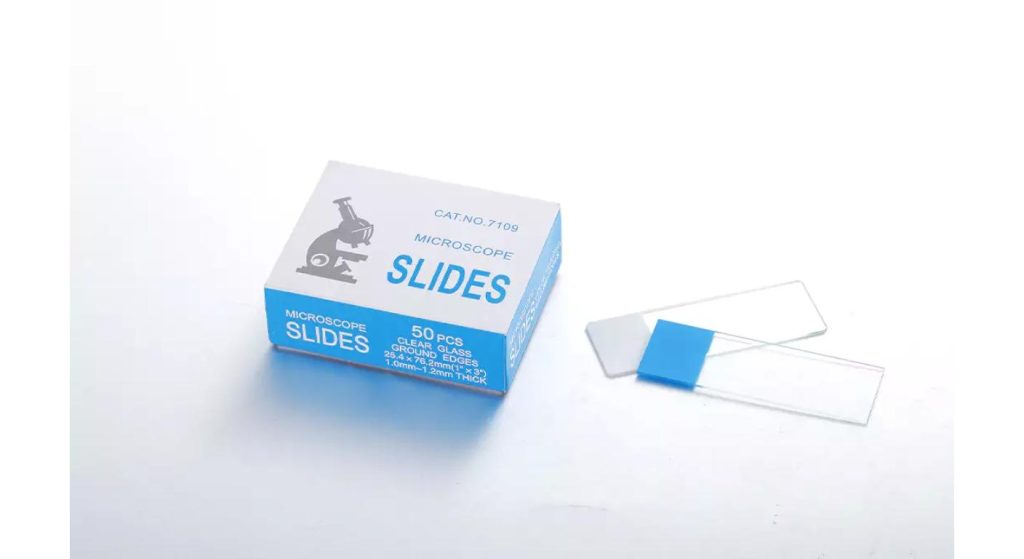
Make sure to verify what thickness of cover glass the objective will require and don't assume that any thickness is acceptable. If a cover glass is required, deviations from the preparation method can impact the quality of the image, especially with more demanding objectives.
Ensure that the conditions for preparing samples are the same when comparing samples. Variations due to staining or mounting can appear to be biological and so the preparation reference should be kept with the observation record.
Make use of Objectives to balance detail and context
Use a low power objective lens to find the specimen and see what area to look for. Use higher magnifications only if there is more detail to be seen, but not so much that it loses sight of what is being observed.
Objective numerical aperture affects resolving power and the magnification affects the size of the image. The details in the image that the optical system cannot resolve cannot be recovered by higher enlargement – check the specification and actual specimen image.
The GT-XSP-136A configuration is with oil immersion objective. Use compatible immersion oil with only those objectives that it is designed to be used with (follow manufacturer's directions). Don't always use oil when mounting slides.
Carefully examine working distance and focus when switching objectives. Ensure that the chosen set-up allows the specimen to be prepared without risk to contact which could damage the slide or objective.
Increase lighting before making a judgement on the specimen.
Useful illumination is more than just brightness. The balance of contrast and resolved detail will depend on the condenser position, as well as the condenser aperture and should be adjusted for the objective and preparation.
Do not apply the same alignment and illumination settings to all slides; use manufacturer's procedure. If the image is too bright, or the aperture is improperly set, the image may be difficult to interpret although a subject may appear "interesting" from the visual standpoint.
When samples are compared, make sure that the relevant settings do not change or document any changes that are made. Changes of illumination, preparation, and focus should always be taken into account before deciding if there is a real or apparent difference in appearance, before ascribing the difference to biology.
Select Documentation around the Evidence Needed
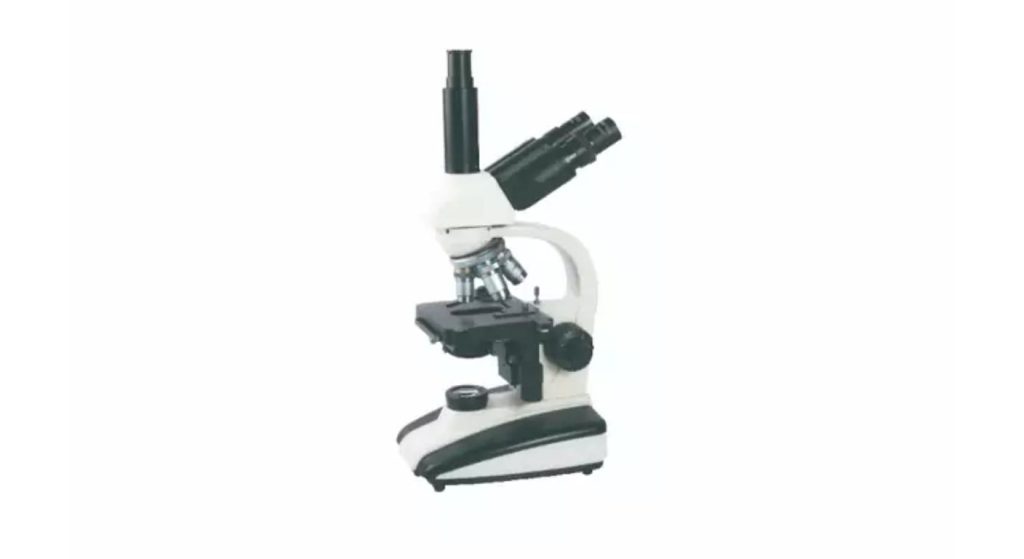
If it is necessary to review observations at a later time, select the imaging sequence prior to choosing the instrument. Trustlab GT-XSP-136D trinocular microscope is equipped with a camera port, it is necessary to confirm the compatible camera, adapter and software separately.
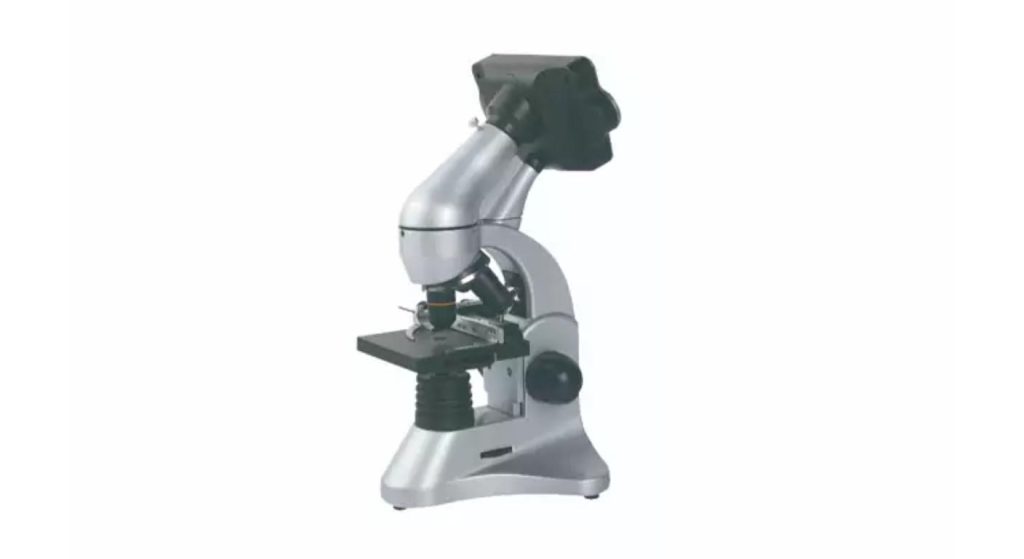
The digital biological microscope GT-GXSP-45LCD from Trustlab combines the functions of a camera and display for appropriate observation and recording operations. Compare the image taken not just on the local screen, but evaluate the image.
Adjust the imaging system correctly (usually with a proper stage micrometer and procedure) for dimensional measurements. Some objectives or adapters or acquisitions might need a different calibration if they are changed.
Save original image files and acquisition information. These are not extra pieces of biological detail as a result of digital enlargement, contrast adjustment, or cropping, but are processing effects that are only applicable to images in the project if it is part of the image-handling rules.
Before making a commitment, make an evaluation of a Representative Observation.
Try the proposed microscope on samples similar to the work desired, such as preparations that are difficult, but satisfactory for the method. Only by viewing a demonstration slide might limitations not be apparent that are relevant to actual specimens.
Determine if the target feature can be found, concentrated on, differentiated and recorded at a regular basis. Consider the intended users as viewing comfort and stage control have an impact on the practicality of repeated viewing.
Write down the accepted conditions of the specimen and the optical setup. When in doubt go back to preparation criteria and optical suitability before assuming that the lack of a feature is a biologic finding. Additional enlargement is not required for some questions, but they will need to be done using a different technique.
Conclusion
A Research Microscope for Biological Observation must be linked to a specific biological problem, preparation and optical technique. Useful evidence comes from objectives, illumination, support for the specimen and capturing the image.
Test the entire set-up with representative samples and record the settings that are important. This allows the researchers to differentiate real features of the specimen from the effect of preparation and imaging.
FAQs
Q1. Is there any biological information that only comes into view at a higher magnification?
No. Observing resolution and contrast of the specimens are what limit distinguishing. If there are structures that aren't solved, they can't be seen in any extra enlargement.
Q2. Is it possible to do a fluorescence observation with a normal biological microscope?
Not without the needed optical configuration and illumination. Make clear whether or not the envisioned tool will contain required elements.
Q3. Do you have to use an oil-immersion objective with all of the samples?
No. Choose the objective in the necessary details and preparation. Immerse in oil only as necessary by the objective and procedure.
Q4. Are size measurements possible directly from the images to be obtained with the microscope?
It is necessary to have an imaging arrangement that is properly calibrated for measurements. Verify objective and acquisition configuration used is calibrated.
Q5. A saved biological image should be accompanied by what?
Store sample ID, preparation ID, objective and acquisition conditions. Keep original file and document subsequent processing.