how is blood plasma collected?
Plasma is a key component in clinical laboratory testing and research. Plasma is the straw‑colored liquid component of whole blood, containing proteins, electrolytes, clotting factors and biomarkers that offer valuable information about health. Whether you're using samples for biochemical analysis, cell separation or biomarker screening, plasma collection from whole blood is crucial for consistent results and downstream analyses.
In this article, we'll explain what plasma is, its significance, how to collect it in a step-by-step process and tips for storage. This knowledge is valuable for researchers, lab technologists, blood bank professionals, and health-care practitioners around the world who prepare diagnostic samples.
What Is Plasma and Why It Matters
Plasma makes up 55% of total blood volume and is the liquid component of blood that suspends blood cells. It is composed of water, clotting factors (such as fibrinogen), immunoglobulins (antibodies), hormones, enzymes, electrolytes, and other substances needed for maintaining fluid balance, immune function, and other physiological processes.
Plasma differs from serum, the liquid that remains when blood clots, as it contains clotting factors and is obtained from blood mixed with an anticoagulant. This is essential for tests such as coagulation profiles and some molecular diagnostic tests.
Plasma is used clinically for:
- Diagnostic tests such as metabolic panels, coagulation profiling, and immunoassays.
- Preparation of cellular fractions (e.g., peripheral blood mononuclear cells) for research or clinical applications.
Materials Needed for Plasma Collection
Before you begin, prepare the following materials:
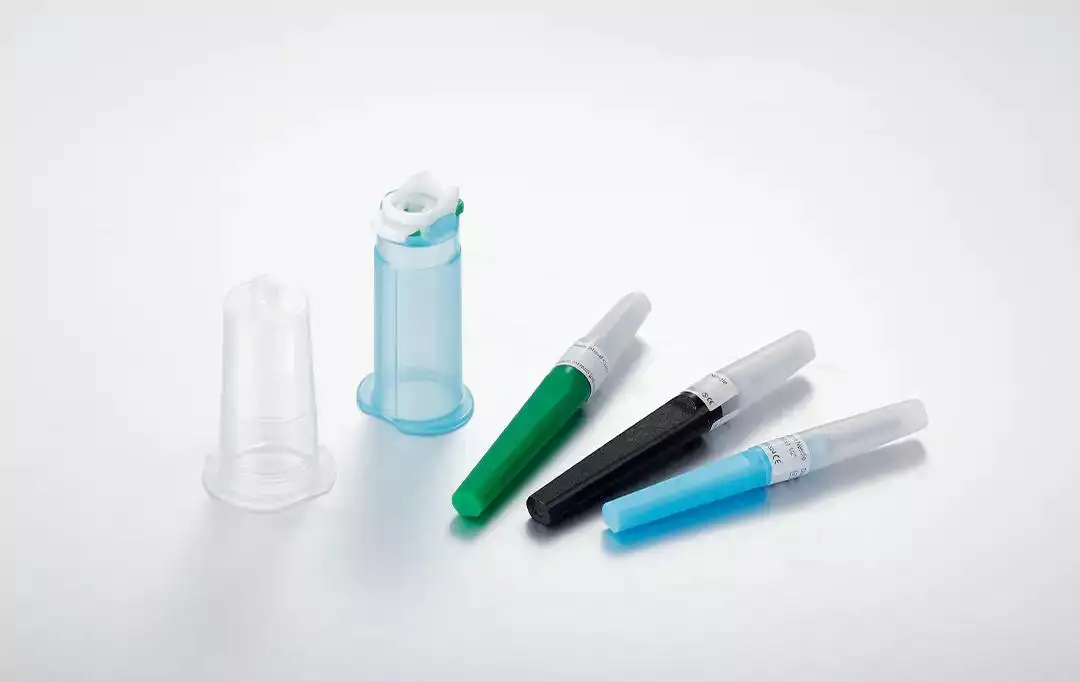
- Whole blood sample, collected in an anticoagulant tube such as EDTA, citrate, or heparin depending on the test requirements.
- Centrifuge capable of delivering 2000–2500 × g.
- Pipettes and sterile tips for transfer.
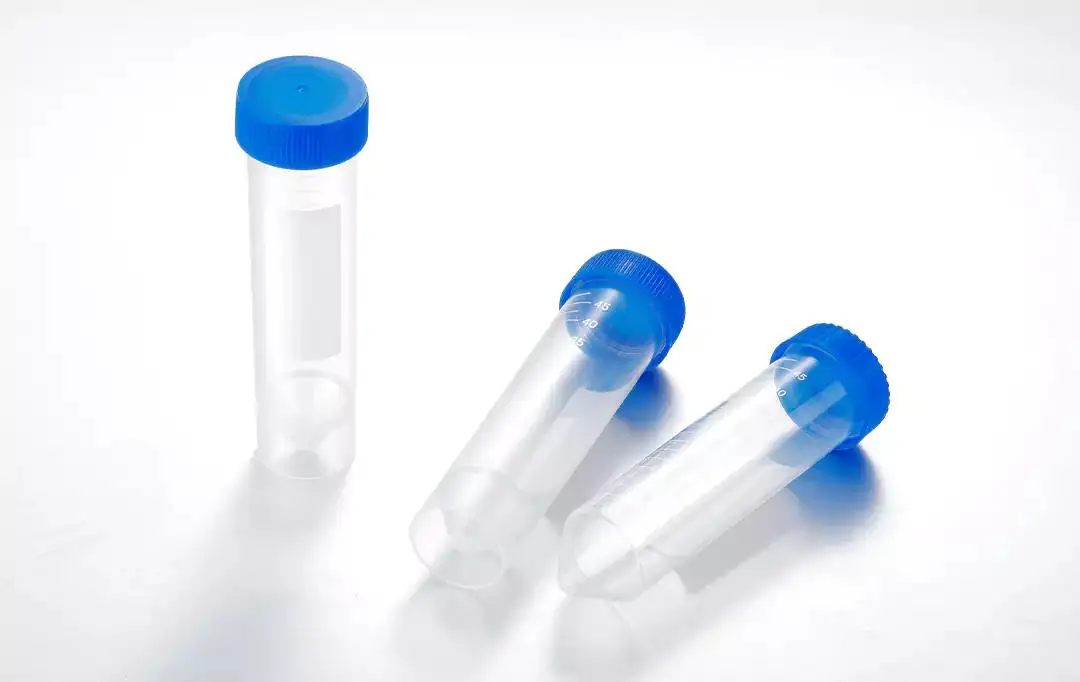
- Labeled collection tubes for plasma storage.
Using proper anticoagulants is key. For instance, ethylenediaminetetraacetic acid (EDTA) is used for hematology analysis, citrate for coagulation analysis, and heparin for clinical chemistry.
Step‑by‑Step Plasma Collection Protocol
Here's a typical procedure used in clinical and research laboratories to collect plasma:
- Collect Whole Blood
Draw blood into a tube containing an appropriate anticoagulant. Gently invert the tube several times immediately after collection to ensure even mixing with the anticoagulant. - Centrifugation
Place the tube in a centrifuge without the brake enabled. Spin at 2000–2500 × g for about 10–15 minutes at room temperature (15–25 °C). This separates the plasma (upper layer) from the cellular components (red blood cells, white cells, platelets). - Aspirate Plasma
After centrifugation, carefully collect the clear, pale‑yellow plasma layer using a pipette. Avoid disturbing the buffy coat and red cell layer beneath. Leave about 1 cm of plasma above the cells to prevent contamination. - Transfer to New Tube
Move the aspirated plasma into a new, labeled tube. It’s now ready for testing, further processing, or storage.
This protocol ensures high‑quality plasma suitable for a wide range of analyses, from routine lab tests to advanced cell biology workflows.
Best Practices and Tips
Prevent Sample Contamination
- Use sterile techniques and clean pipette tips for each transfer.
- Work promptly but carefully; delays may degrade labile proteins or biomarkers.
Appropriate Storage
- Short‑term: plasma can be stored at 4 °C for a few days.
- Long‑term: freezing at ‑20 °C or lower is recommended.
Labeling and Documentation
- Always label tubes with patient/sample ID, date, and type of anticoagulant used.
- Maintain proper logs to ensure traceability, especially in clinical settings.
Common Pitfalls to Avoid
Hemolysis
If red blood cells are ruptured during collection or processing, plasma can appear pink and interfere with test results. Avoid vigorous mixing or extreme temperature changes.
Incomplete Anticoagulation
If blood clots before centrifugation, plasma cannot be isolated. Always ensure adequate mixing with the anticoagulant.
Disturbing the Cell Layer
A pipette tip that goes too deep may draw cellular components, contaminating the plasma and affecting analytical outcomes.
Plasma vs Serum: What’s the Difference?
Understanding the difference between plasma and serum helps determine which is appropriate for your testing needs:
- Plasma: Liquid fraction after anticoagulated blood is centrifuged; retains clotting factors.
- Serum: Liquid portion after blood has clotted and been centrifuged; does not contain clotting proteins.
Clinical labs often choose plasma when coagulation factors must be preserved or when the test demands minimal sample processing.
Applications of Collected Plasma
Plasma samples serve many critical purposes:
Diagnostic Panels
Used in routine blood tests like chemistry panels, immunoassays, and coagulation studies.
Cell Isolation Workflows
Plasma-depleted blood can be used to isolate cells for use in experiments, like PBMCs.
Biomarker Research
Plasma is rich in proteins and molecules that are released into the blood, making it a valuable tool for disease biomarker and translational studies.
Conclusion
Plasma separation from whole blood is a common but crucial procedure in labs around the world Adherence to established protocols not only yields high‑quality plasma, but also reliable diagnostic test results and streamlined processes. Chosing the right anticoagulant, centrifuging and storing properly, all contribute to maintaining the biochemical characteristics of plasma.
In a diagnostic laboratory in a hospital, or in a research institution conducting complex cell isolation, knowing how to collect plasma can make a difference in results and accuracy.
Related Articles

Does a Gynecological Exam Hurt? The Design Science Behind Patient-Friendly "Swabs for Women"
From Sample Preparation to Storage: How Screw Cap Centrifuge Tubes Optimize Daily Lab Workflows