


Updated 1 week ago
Serum Separator Tube vs Clot Activator Tube: Key Differences
trustlabofficial

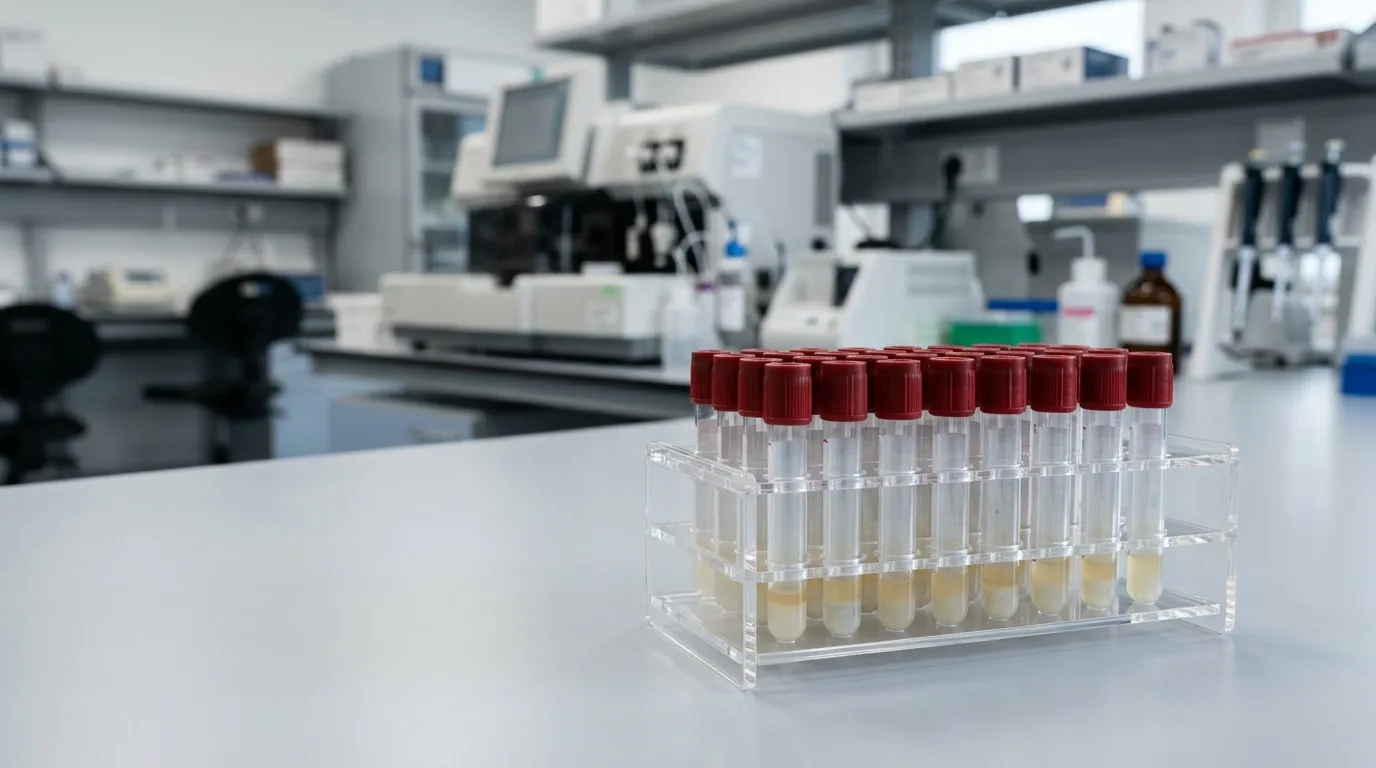
Serum collection tubes compared: SST with gel and clot activator tube without gel
When a laboratory needs serum for chemistry, serology, or therapeutic drug testing, the choice between a serum separator tube (SST) and a clot activator tube matters more than many procurement checklists suggest. The simplest way to remember the difference is the gel: an SST contains both a clot activator and a separation gel, while a clot activator tube contains only the clot activator. That single difference changes how the sample is processed after centrifugation, which tests can use the tube, and how much manual handling your laboratory has to do.
An SST is sometimes described as a “clot activator tube with a gel barrier,” and in Trustlab’s product range the same concept is listed as the gel clot activator tube. This article explains each tube type, compares their clotting and separation behaviour, and gives a practical framework for choosing between them for routine chemistry, therapeutic drug monitoring, and other common serum workflows. For a wider view of the collection systems these tubes belong to, see our overview of blood collection systems.
What Is a Serum Separator Tube (SST)?
An SST is a blood collection tube designed to produce serum for laboratory testing. It contains two functional components: a clot activator, usually silica particles, and a separation gel. The clot activator accelerates the normal coagulation process. When the tube is centrifuged, the gel moves to form a physical barrier between the serum and the clotted cellular material, allowing the serum to stay clean without needing to be transferred immediately.
Because of this design, SSTs are widely used in clinical laboratories for routine chemistry panels, serology, and immunology assays. The gold or tiger-top stopper is the common identifying colour for this tube type, though some manufacturers use different labels. UW Medicine’s laboratory test guide lists the SST among its standard serum tubes and notes that it can be used for many routine chemistry and serology applications. In Trustlab’s catalog, the same tube type is sold as the gel clot activator tube, a name that highlights the two main components.
What Is a Clot Activator Tube?
A clot activator tube is also a serum tube, but its design is simpler. Like the SST, it uses a clot activator to speed up coagulation. Unlike the SST, it contains no separation gel. This means the serum remains in direct contact with the clotted blood after centrifugation. The laboratory has to transfer the serum into a secondary tube for storage, analysis, or transport.
The gel-free format is not an omission. Many assays, especially therapeutic drug monitoring tests, are validated on samples that have not been in contact with a gel separator, because the gel can interact with certain analytes. UW Medicine’s test guide explicitly warns that SSTs are not recommended for drug analysis because the gel may bind drugs and lower the measured concentration. For this reason, a clot activator tube is often selected when the laboratory protocol calls for a gel-free serum sample. The red-top tube is the classic example, although modern tube designs may vary the stopper colour. Trustlab offers this format as its clot activator tube, without a gel component.
Key Differences Between SST and Clot Activator Tubes
The table below summarises the practical differences between the two tube types.
| Feature | Serum Separator Tube (SST) | Clot Activator Tube |
|---|---|---|
| Additives | Clot activator plus separation gel | Clot activator only |
| Common stopper colour | Gold or tiger top | Red top (may vary by manufacturer) |
| Primary function | Serum separation without the need to transfer | Serum production with a gel-free sample |
| After centrifugation | Gel forms a barrier between serum and clot | Serum stays in contact with the clot |
| Laboratory handling | Serum may be sampled directly from the original tube | Serum must be transferred to a secondary tube |
| Typical applications | Routine chemistry, serology, immunology | Specific serum assays where gel-free serum is required, including many therapeutic drug monitoring protocols |
| Main disadvantage | Gel may interact with certain analytes | Additional manual separation step |
Clotting Time at a Glance
Clotting time is not a fixed value. A standard SST that uses a silica-based clot activator typically needs roughly 30 minutes for complete coagulation before centrifugation. If throughput is critical, a rapid serum tube (RST) can reduce that time to 5–10 minutes because it contains thrombin, the enzyme that drives the final step of the coagulation cascade. RSTs are still serum tubes, but they are a faster variant rather than a separate tube category.
For a plain clot activator tube without gel, the need for complete clotting is the same. Trustlab’s technical summary for its serum tube range indicates a clotting window of 15–30 minutes for tubes that rely on a clot activator alone. That figure comes from the manufacturer and should be checked against the latest product-specific technical documentation, especially when a laboratory needs to validate its own turnaround times.
The Role of the Separation Gel
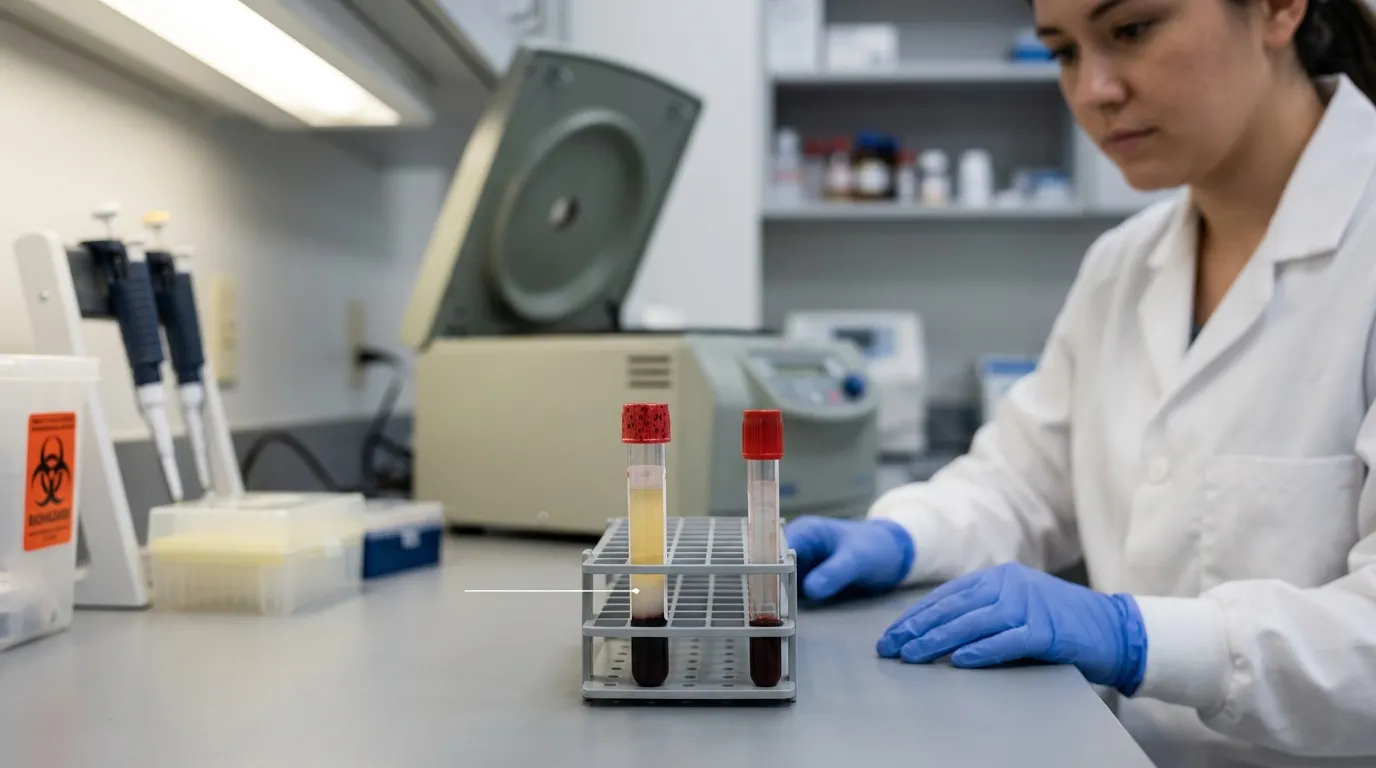
The gel in an SST is what makes it operationally different from a simple clot activator tube. During centrifugation, the gel migrates to the interface between the serum and the clot. Once the centrifuge stops, that gel layer remains in place, preventing cells from migrating back into the serum. This allows the serum to be stored, transported, or sampled directly from the tube without contaminating the sample.
In a clot activator tube without gel, no such barrier exists. Serum and clot remain in contact after centrifugation, and cells can continue to influence the liquid phase. Removing the serum manually is therefore not just a convenience step; it is necessary to prevent ongoing contact between the sample and the clot matrix.
Which Tests Require an SST vs a Clot Activator Tube?
The right tube depends on the assay, the sample type, and the laboratory’s validated protocol. The table below gives general guidance based on common laboratory practice and the recommendations in UW Medicine’s test guide.
| Test or sample type | Recommended tube | Why |
|---|---|---|
| Routine chemistry panels, e.g., basic metabolic panel (BMP), comprehensive metabolic panel (CMP), lipid profile, liver function tests | SST | Gel barrier keeps the serum separated without extra handling |
| Serology and immunology assays | SST | SST is accepted in many serology and immunology workflows |
| Therapeutic drug monitoring | Clot activator tube without gel (if the assay or lab protocol requires gel-free serum) | The gel in an SST may bind certain drugs |
| Toxicology and drugs-of-abuse screens | Clot activator tube without gel (depending on the assay protocol) | Avoids potential gel-related interference |
| Tests where the assay manufacturer states “Do not use gel tubes” | Clot activator tube without gel | Follows the assay manufacturer’s instruction |
This table is a starting point, not a replacement for the assay manufacturer’s instructions or the laboratory’s own validation data. Some laboratories have standardised on SST for all serum testing, while others prefer plain tubes for the entire routine chemistry menu.
A related distinction should be made between serum and plasma. Serum separator tubes, as their name suggests, produce serum. If your workflow instead requires plasma, a plasma separator tube (PST) containing lithium heparin and a gel is the equivalent tube type for plasma samples. That decision is separate from the one addressed here. For a full explanation of all vacuum tube formats, see different types of vacuum blood collection tubes.
Gel and Additive Interference — What to Watch For
The gel barrier in an SST is convenient, but it is not inert for every test. UW Medicine’s laboratory guide states that SSTs should not be used for drug analysis because the gel may bind drugs, potentially leading to falsely low results. The severity of binding depends on the specific drug, the gel formulation, and the assay method. Laboratories that perform therapeutic drug monitoring or toxicology testing should check whether their protocol allows SST use or requires a gel-free clot activator tube.
Additives and other tube components can also interfere with analytical methods. A review by Bowen et al. in Biochemia Medica describes how blood collection tube components, including clot activators, surfactants, and separator gels, can alter the sample matrix or leach substances into the serum. These effects are not universal; they are specific to the tube formulation and the assay chemistry. That is why laboratories should use tubes that have been validated for the assays they run, rather than assuming one serum tube works for every test.
Order of Draw — Where Do These Tubes Fit?
Both SSTs and clot activator tubes are serum tubes, and they occupy the same position in the recommended order of draw. According to CLSI guidance, when multiple tubes are collected in a single venipuncture, the order is:
- Blood culture tubes
- Citrate tubes
- Serum tubes, with or without clot activator, and with or without gel
- Heparin tubes
- EDTA tubes
- Glycolytic inhibitor tubes
In practical terms, an SST and a clot activator tube are drawn at the same stage in the sequence, after any citrate tube and before any heparin or EDTA tube. The CLSI guidance is available from the CLSI order-of-draw resource, and it is a useful reference when designing collection protocols or training new phlebotomy staff.
How to Choose Between an SST and a Clot Activator Tube

Use the following steps to select the appropriate tube for a given sample:
- Identify the test and check the protocol. Look at the assay manufacturer’s instructions and your laboratory’s own procedure for the test. The protocol will state whether the sample must be serum and whether a gel separator is permitted.
- Choose an SST when no gel restriction applies. For routine chemistry panels, serology, and many immunology assays, the SST provides a clean, easily handled serum sample. The gel barrier also reduces the risk of cell contamination after centrifugation.
- Choose a clot activator tube when the protocol requires gel-free serum. If the assay is for a therapeutic drug, a toxicology drug screen, or any other test where gel contact is not allowed, use a clot activator tube without gel and transfer the serum into a secondary tube after centrifugation.
- Consider an RST only when speed is essential and the laboratory has validated it. A rapid serum tube can clot in 5–10 minutes, but it is not a universal substitute for a standard SST.
- Follow the fill-volume and mixing instructions. Whether you use an SST or a clot activator tube, the tube must be filled to the stated volume and inverted according to the manufacturer’s instructions to ensure complete mixing of blood with the clot activator.
- Confirm centrifugation requirements. Serum tubes generally require centrifugation after complete clotting. Check the tube manufacturer’s recommended speed, time, and temperature to avoid hemolysis or incomplete gel barrier formation.
When in doubt, let the laboratory’s validated protocol be the deciding factor. If the protocol has been established using a specific tube type, changing to another serum tube without revalidation can compromise sample quality.
Trustlab Tube Options and Sourcing Considerations
Trustlab supplies both tube formats, which makes this comparison more than a brand preference exercise. The choice should be driven by the test requirement, not by the available product list.
- For an SST-type tube with a clot activator and separation gel, review the gel clot activator tube product page.
- For a clot-activator-only tube without gel, review the clot activator tube product page.
Before sourcing either format, review the specification sheets and confirm the product details with the supplier. It is also worth checking the manufacturer’s quality documentation to ensure the tubes match your laboratory’s requirements for additive, fill volume, packaging, and regulatory compliance. A structured approach to this review is available in our guide on how to evaluate blood collection system supplier quality.
If you need a complete overview of the available formats, the vacuum blood collection tubes product page and the guide to different types of vacuum blood collection tubes provide additional context for laboratory buyers and distributors.